
Is this actually worth it for you
A home simulator pays off if you'd otherwise be paying for range time or course access you don't have time to use. It's a worse deal if you play twice a year and mostly want the novelty. The honest test: would you actually use a hitting bay in your house every week for the next year?
If yes, the rest of this guide is about making sure the money goes toward the right things in the right order.
Compared to a range membership or an indoor golf facility
A home simulator competes with two real alternatives, not with doing nothing: a driving range or course membership, and a pay-by-session indoor golf facility. Neither is a wrong choice, they just suit a different pattern of use.
- A range or course membership needs no upfront equipment cost and no room in your house, but costs you travel time on every single session and doesn't work on your schedule, only theirs
- A pay-by-session indoor facility removes the room and maintenance problem entirely, at the cost of paying every time you want to play, and being limited to whatever hours and locations are available near you
- A home simulator has the highest upfront cost and the only real ongoing space and maintenance commitment, in exchange for being available whenever you actually have twenty minutes free, with no travel time and no per-session cost after the initial build
The honest way to decide between these is frequency, not price alone: the more often you'd actually use it, the more a home simulator's higher upfront cost gets diluted across real use, and the more the zero-travel-time advantage compounds week over week.
Start with the room, not the equipment
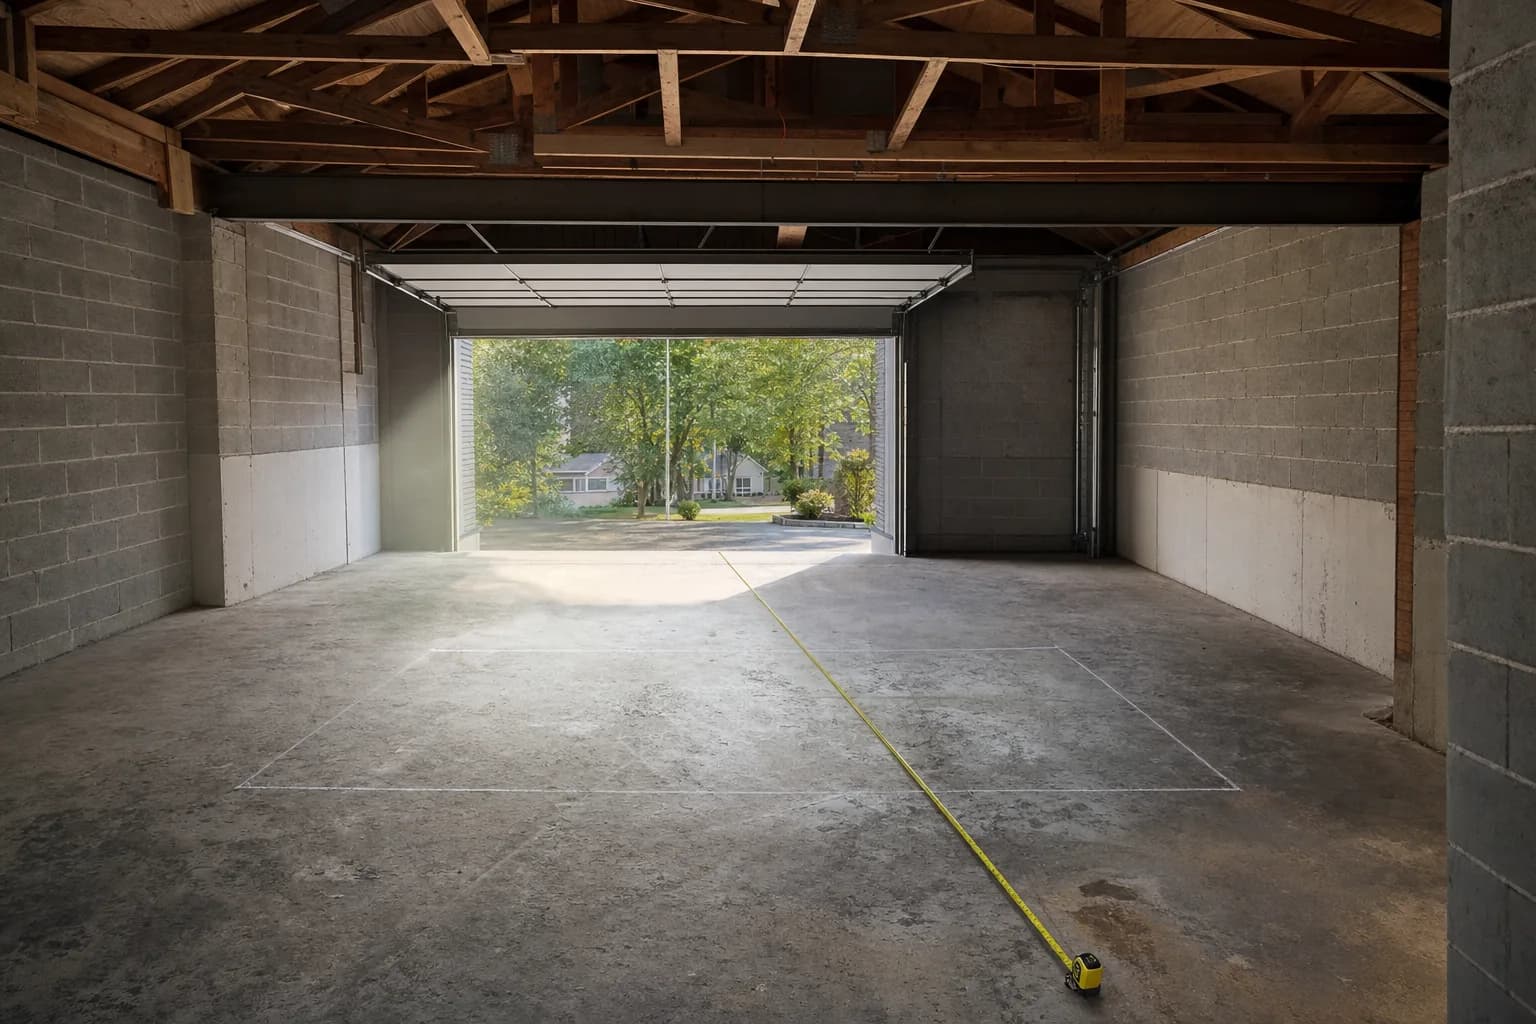
Most people start by researching launch monitors. Start with the room instead. Ceiling height, in particular, cannot be fixed after you've bought equipment: a launch monitor can be returned, a low ceiling can't be raised. Measure before you shop, not after.
See the room-size guide for how to measure what actually mattersWidth and depth matter too, but they're more forgiving: most rooms can be made to work with the right component choices. Ceiling height is the one hard constraint.
The four things you're actually deciding
Once the room checks out, a simulator setup comes down to four choices: what reads your swing (the launch monitor), what you hit into (a net or an impact screen), what you watch (a projector or a TV), and what software you play on. Everything else, tripods, enclosures, mats, is supporting infrastructure around those four.
- Launch monitor: the sensor that reads ball and swing data. Radar-based units sit behind you and need more room behind the ball; camera-based units sit beside the hitting area and need less depth. This is usually where accuracy and price differ the most between models.
- Hitting surface: a net is cheaper and more forgiving of a smaller space; an impact screen doubles as your projection surface and is a bigger commitment, a fixed size that needs a frame or enclosure.
- Display: a projector gives you a full-size course image but needs a dark room and calibration; a large TV is brighter, needs no calibration, and is usually cheaper, at the cost of scale.
- Software: what determines which courses you can play, and whether your launch monitor's data is even usable at all. Check compatibility with your launch monitor before you buy either one.
Net or impact screen: what you hit into
This decision affects your budget, your room, and how immersive the setup feels, and it's more reversible than people assume: plenty of setups start with a net and add a screen later once the rest of the system is proven out.
| Net | Impact screen | |
|---|---|---|
| Cost | Lower, usually the cheapest of the two | Higher, the screen itself plus a frame or enclosure to hold it |
| Space | More forgiving, works in a tighter room | Needs a fixed frame footprint, less forgiving of a tight or irregular space |
| Immersion | No visual, ball flight only shown on a separate display if any | Doubles as the projection surface, ball flight and course shown right where you're hitting |
| Commitment | Easy to move, reposition, or pack away | A bigger, more fixed installation once the frame is set up |
If you're not sure yet, a net is the lower-risk starting point. It lets you validate that you'll actually use the setup regularly before committing to a screen and frame that's harder to undo.
Projector or TV: what you watch
This choice only matters if you're using an impact screen. A net-only setup usually shows data on a phone, tablet, or small monitor instead, and this section doesn't apply.
| Projector | Large TV | |
|---|---|---|
| Image size | Full-size course image, scales with throw distance | Fixed to the screen size you buy, generally smaller than a projected image |
| Room lighting | Needs a dim room for a clear, bright image | Readable in normal room lighting |
| Setup | Needs mounting and calibration (keystone, focus, alignment to the impact screen) | Simpler to mount and requires no image calibration |
| Ongoing cost | Bulb or laser light source is a real, sometimes recurring cost depending on the model | No consumable light source to budget for |
A projector is the more immersive, more traditional simulator look, and the better fit for a dedicated room you can control the lighting in. A TV is the simpler, lower-maintenance choice, and often the better fit for a shared or multi-purpose space that can't stay dark on demand.
Software and the PC or device it runs on
Software is the piece most people research last and should research earlier, because it constrains what your launch monitor purchase actually needs to support. Confirm which simulator software platforms your launch monitor is compatible with before you buy either one, not after.
Full course-play simulator software generally runs on a PC with its own minimum hardware requirements, separate from anything the launch monitor itself needs. A PC that struggles to render a course smoothly undermines an expensive, accurate launch monitor just as much as a cheap one would, so budget for hardware that can actually run the software you want, not just whatever you already have on hand.
- Check the current, official minimum and recommended specs for the specific software you want to run, since these change with each major release and a two-year-old figure you find in a forum post may already be out of date
- Some launch monitors include a companion app for basic data without full course play; confirm whether that's enough for how you actually plan to use the setup before assuming you need full simulator software at all
- If a subscription is involved, treat it as an ongoing cost of the whole system, not a one-time purchase, when you're budgeting the full build
Enclosure or open frame, if you're using an impact screen
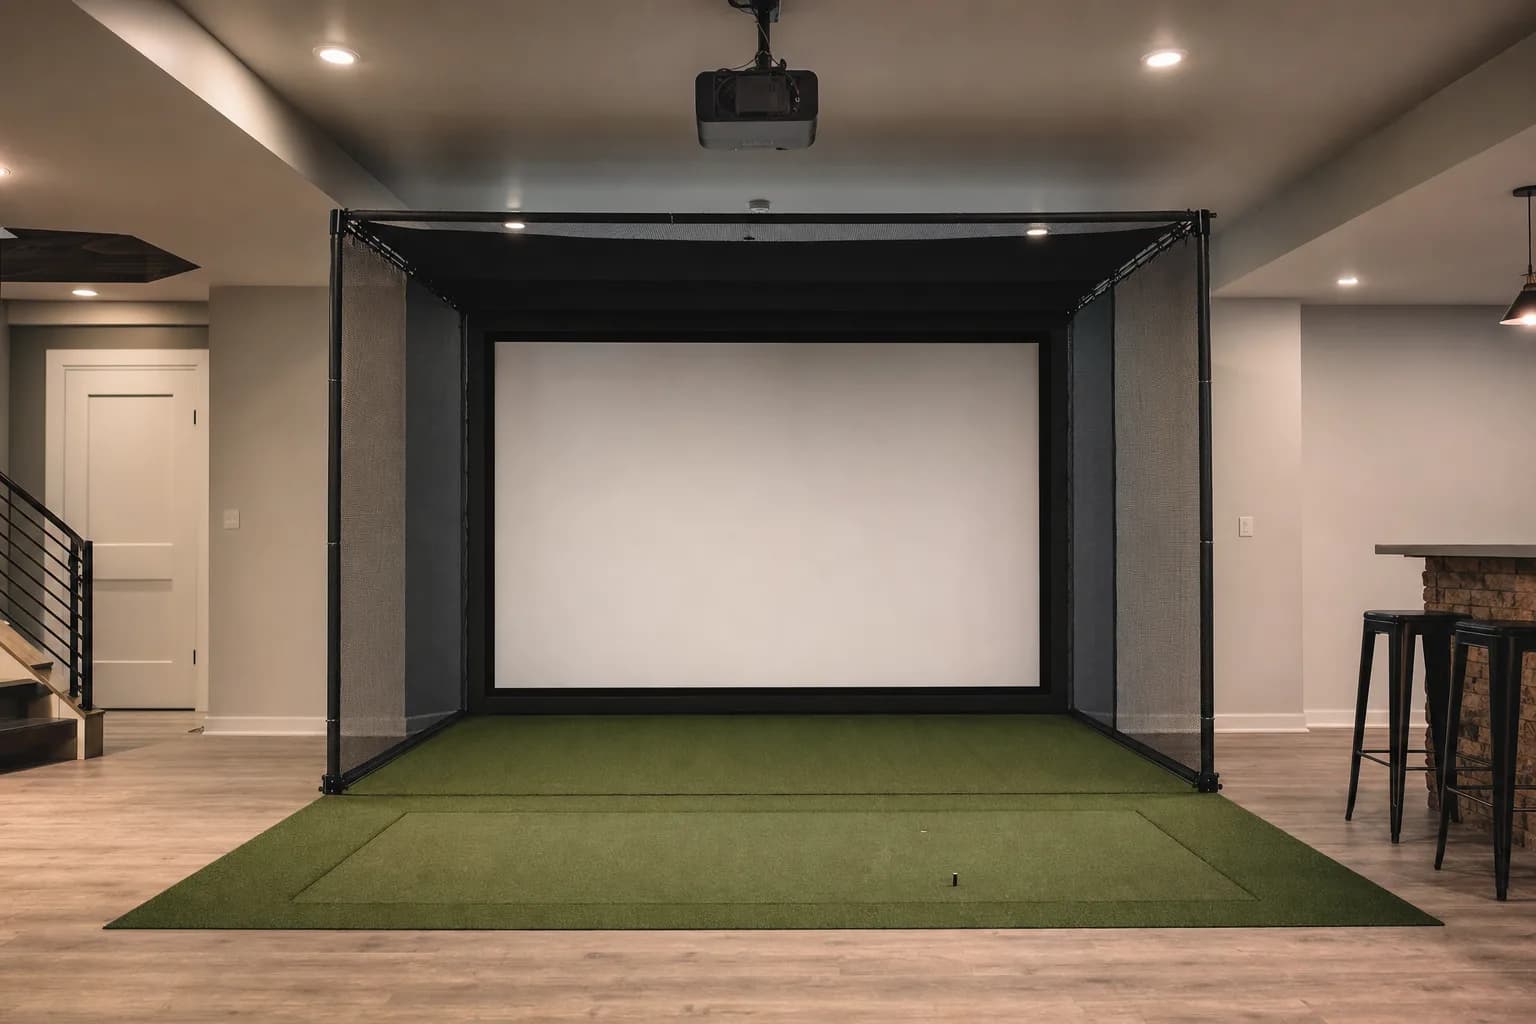
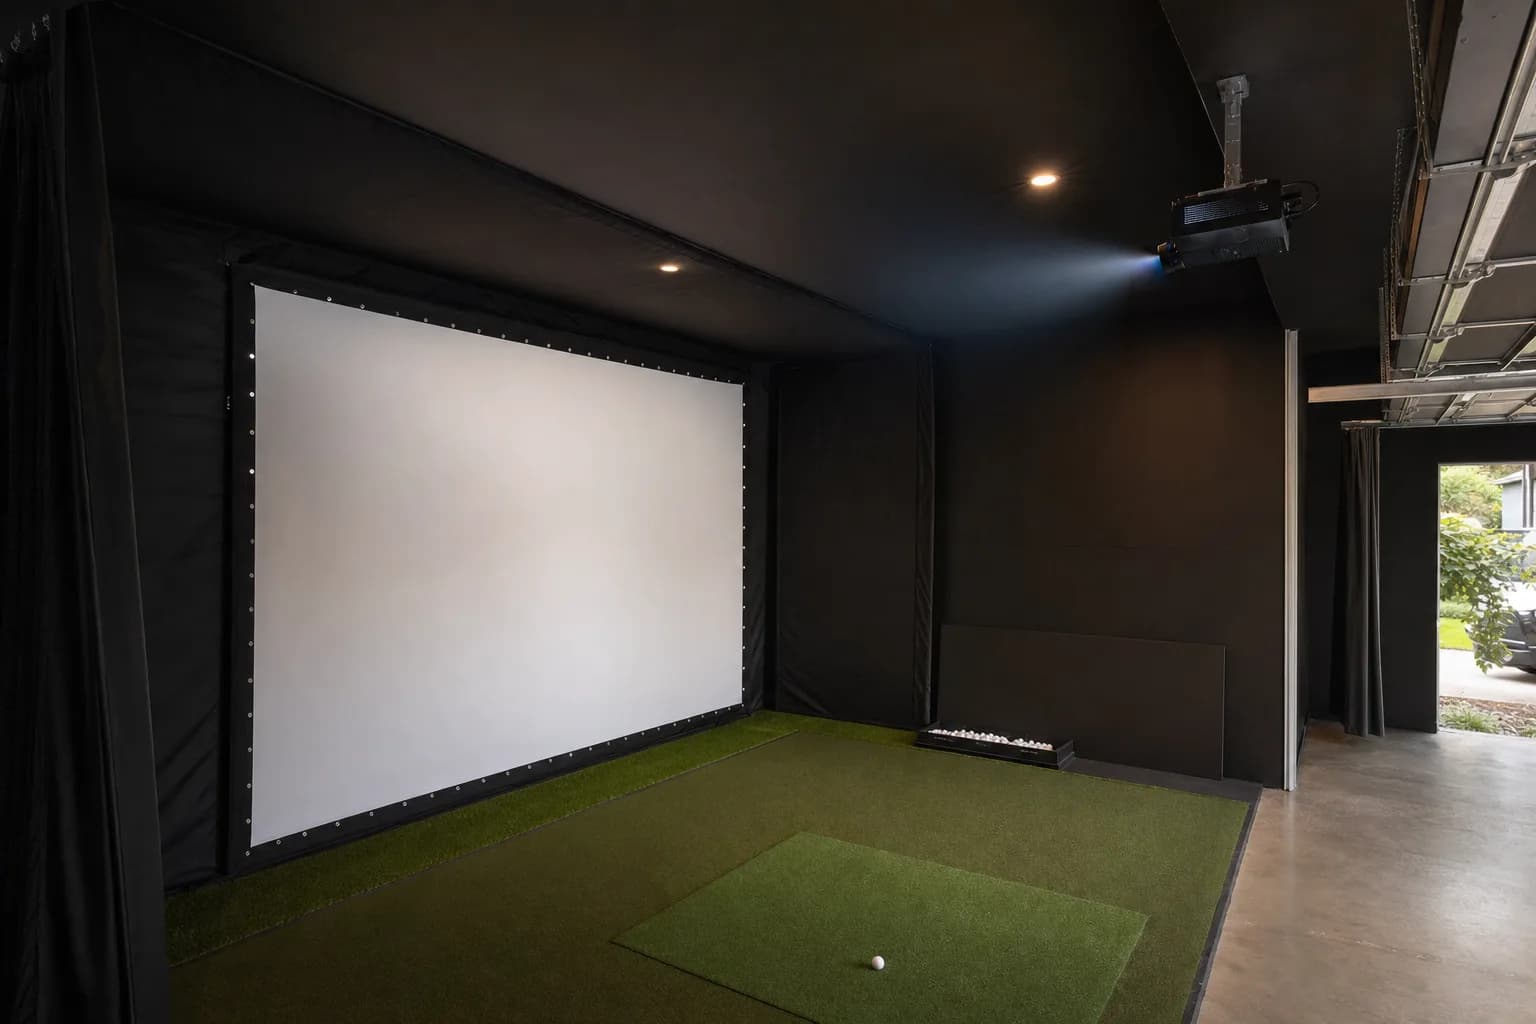
If you've chosen an impact screen over a net, you need something to hold it: a full enclosure with side and top netting to contain mishits, or a simpler open frame that just supports the screen itself.
- A full enclosure contains mishits on all sides, which matters more in a shared space or a room with anything nearby you don't want hit
- An open frame is cheaper and quicker to set up, but relies on the room itself, walls, distance, layout, to contain an off-line shot
- Frame and enclosure footprint counts against your room's usable width and depth just as much as the screen itself does, factor it in when you're checking your space against the room-size guide
The order to actually make these decisions in
Every mistake in the common-mistakes list below comes down to decisions made in the wrong order. This is the order that avoids them.
- 1. Measure your room, ceiling height first, then width and depth. This is free, takes ten minutes, and rules out options before you've spent anything.
- 2. Choose the launch monitor. It's usually the largest cost and constrains everything after it, see the next section for why it goes before the hitting surface and display, not after.
- 3. Confirm simulator software compatibility with that specific launch monitor, before buying the software or the PC it runs on.
- 4. Choose the hitting surface, net or impact screen, based on your room and whether you've confirmed you'll use the setup enough to justify a screen and enclosure.
- 5. If you chose a screen, choose the display, projector or TV, and confirm throw distance or mounting against your actual room.
- 6. Choose the mat last, once you know your launch monitor's sensor type and your actual footprint, but don't underbudget it, see the common mistakes list.
Choose the launch monitor first
Of the four, the launch monitor is the one to decide first. It's usually the largest single cost, and it constrains almost everything downstream: software compatibility, minimum room depth, and how accurate your data actually is.
This is also why it belongs before the hitting surface and display in your buying order, not after. A net or screen and a projector or TV are comparatively interchangeable once chosen, you can swap a net for a screen later without touching anything else. A launch monitor is the opposite: its sensor type sets your minimum room depth, and its software compatibility sets what the rest of the system can even do, so getting it wrong is the most expensive mistake to unwind.
See the full launch monitor selection guideSee the launch monitors currently in the MyGolfSim catalog
Real, in-stock products, each with a published review or research in progress.
Budgeting for the whole system, not just the launch monitor
The launch monitor usually takes the largest share of a simulator budget, but it's rarely the only cost that surprises people. Add up the hitting surface, display, mat, software license (some are one-time, some are subscriptions), and the PC or device that runs it, before you commit to a launch monitor at the top of your range.
A simulator built entirely around the launch monitor budget, with nothing left for a decent mat or an adequate PC, usually ends up needing a second round of purchases within the year.
| Line item | Typical share of the total budget |
|---|---|
| Launch monitor | Usually the single largest cost in the whole build |
| Hitting surface (net or screen plus frame) | A moderate cost, larger if you choose an impact screen and enclosure over a net |
| Display (projector or TV) | Only applies if you're using an impact screen; skip entirely with a net-only setup |
| Mat | Often the most underbudgeted item relative to how much it affects daily comfort and accuracy |
| PC or device, plus software | Easy to underestimate if you're reusing an old PC that doesn't actually meet the software's requirements |
Relative proportions only, not specific dollar figures, since prices shift and vary by model, see each product's own current price on its listing.
Where people go wrong
- Buying the launch monitor before measuring the ceiling.
- Picking software and a launch monitor separately, then finding out they don't talk to each other.
- Underbudgeting the mat. A thin mat on a hard floor is a fast way to a sore wrist.
- Skipping the PC or device requirements for the software you actually want to run, then discovering it needs a better graphics card than you have.
- Committing to an impact screen and enclosure before confirming the frame footprint actually fits the room, not just the swing space.
- Assuming a projector setup will look right without checking throw distance and mounting height against the specific screen size chosen.
- Treating a subscription-based simulator software's ongoing cost as a one-time purchase when planning the total budget.
How long this actually takes to set up
A net-and-mat setup in an existing room is realistically an afternoon: unroll the mat, set up the net, position the launch monitor, and you're hitting balls. It doesn't need a contractor or a weekend torn apart.
A full enclosure with an impact screen and a mounted, calibrated projector is a genuinely bigger project. Expect a full weekend at minimum if you're doing it yourself: building or assembling the frame, hanging netting and screen, mounting and calibrating the projector, and routing power and cable runs so nothing crosses the swing path. None of this requires professional installation, but underestimating the time is a common source of a rushed, poorly calibrated first setup that then needs redoing.
What you actually need on hand for a DIY build
None of this requires specialty tools, but having the right basics on hand before you start saves a mid-build trip to the hardware store.
- A stud finder and a drill, if you're mounting a projector to the ceiling or attaching an enclosure frame to a wall rather than free-standing it
- A tape measure and a level, for confirming clearance and making sure your screen and frame are actually square, not just approximately
- Extension cords or, better, a plan for permanent outlets near both the hitting position and the display, see the room-size guide's electrical section
- Basic zip ties or cable clips to route power and any wired network connection away from the swing path and walking area
What ongoing upkeep actually looks like
A simulator setup isn't zero-maintenance once it's built, though none of it is difficult.
- Mats wear down with repeated use, especially directly under the ball position; expect to eventually replace or rotate the hitting area rather than the whole mat
- Impact screens develop wear marks over time from repeated ball strikes in the same general area, which is normal and mostly cosmetic unless it affects the projected image quality
- Launch monitor firmware and simulator software both receive updates; skipping them for a long time is a common, avoidable cause of compatibility problems between the two
- Projector bulbs or light sources have a finite lifespan and a real replacement cost, budget for this as an ongoing cost of a projector-based setup, not a one-time purchase
Building room to upgrade later
The cheapest way to end up with a full enclosure and projector setup is to plan your room dimensions for one from the start, even if you're beginning with just a net and a mat.
- Measure and reserve the depth an impact screen and enclosure would need, even if you're starting with a net, so a later upgrade doesn't discover the room was never actually big enough
- Choose a launch monitor with confirmed compatibility across more than one simulator software platform if you're not fully committed to one yet, it costs nothing now and avoids being locked in later
- Run power and, if possible, wired ethernet to both the hitting position and where a future screen or projector would go, doing this once during an initial build is far less disruptive than adding it after walls and flooring are finished
Final decision checklist
- Have you measured ceiling height, width, and depth against the room-size guide, not just eyeballed the space?
- Have you chosen the launch monitor first, before the hitting surface or display?
- Have you confirmed simulator software compatibility with that specific launch monitor?
- Does your budget include the mat, PC or device, and software, not just the launch monitor and screen?
- If more than one person will use it, have you planned for mirrored clearance and multiple user profiles?
- Have you reserved room for the upgrade path you might actually want later, even if you're starting minimal?
Common questions
Can I build a simulator in an apartment? Noise and space are the two real constraints, not a rule against it. See the room-size guide's flooring section for how to manage impact noise, and be honest about whether your ceiling height and available depth actually work before committing to a lease-restricted space.
Do I need to hire someone to install this? Most home builds, including a full enclosure and projector, are realistic DIY projects, see the installation timeline above. Professional installation matters more for a genuinely permanent, built-in room renovation than for a self-contained enclosure and net or screen setup.
Can I start small and upgrade later? Yes, and it's the lower-risk approach for a first build. A net-and-mat setup with a solid launch monitor can add an impact screen, enclosure, and projector later without replacing the core equipment, as long as you've planned your room dimensions with that upgrade in mind from the start.
What's the single most common reason a first build disappoints someone? Skipping the room-size check and the software compatibility check, in that order, see the common mistakes list above. Both are free to verify before spending anything, and both are the hardest problems to fix after you've already bought equipment.
How complex your first setup needs to be
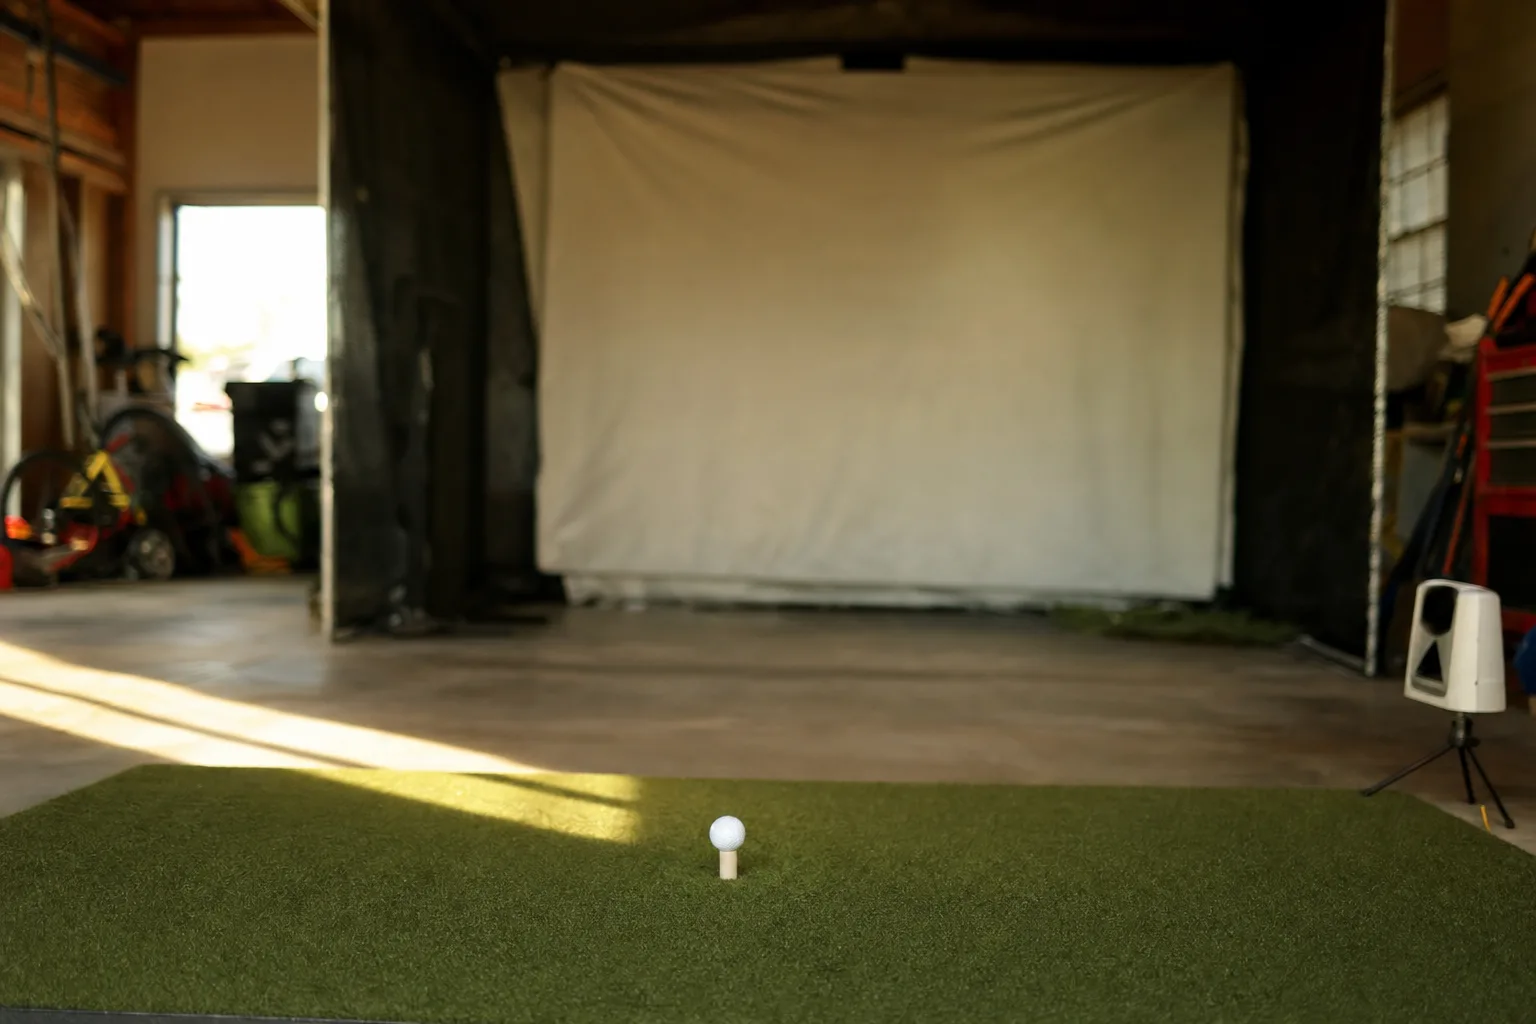
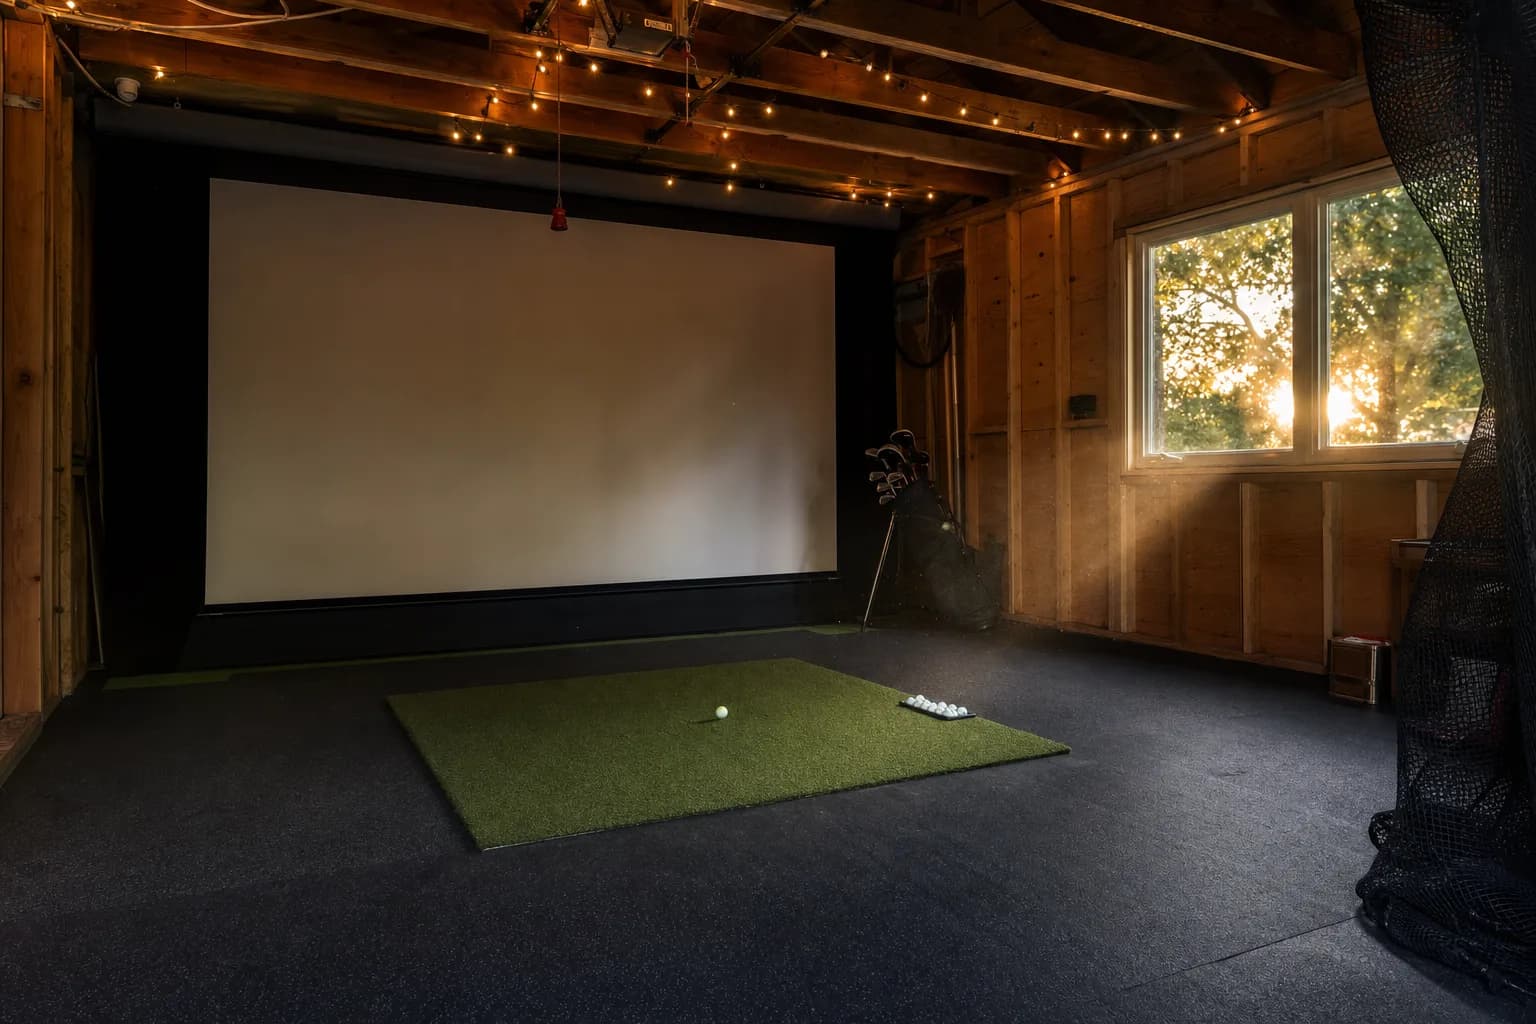
You don't need a full enclosure and a calibrated projector to get useful ball data. A launch monitor, a net, and a mat in a garage bay is a complete, working setup, just a less immersive one. A dedicated room with an impact screen and projector is a bigger project: more measuring, more budget, and a real installation, not an afternoon.
| Tier | What's in it | Best for |
|---|---|---|
| Minimal | Launch monitor, net, mat | Getting real data fast, tightest room, smallest budget, testing whether you'll actually use it before spending more |
| Mid | Launch monitor, mat, TV display, net or a basic screen without a full enclosure | Wanting to see ball flight without committing to a full projector calibration or enclosure build |
| Full | Launch monitor, mat, impact screen, enclosure, projector, dedicated room | A dedicated, immersive space you've already confirmed you'll use consistently, usually an upgrade path rather than a first build |
Start with what you'll actually use consistently. It's easier to add a screen and projector to a working net-and-mat setup later than to undo a room build that turned out too ambitious.
Buying new versus used equipment
A used launch monitor or projector can be a genuine way to save money, but the calculation is different for electronics than for a mat or a net.
- A launch monitor is a precision sensor; confirm a used unit's actual condition and calibration history, not just that it powers on, and check whether the manufacturer's warranty transfers to a second owner at all
- Software licenses and subscriptions tied to a specific account or device sometimes don't transfer with used hardware, confirm this before buying, since it can turn an apparent deal into a unit that needs a fresh subscription anyway
- A used net, mat, or frame carries far less risk, since there's no calibration or firmware to worry about, only physical wear you can usually assess by looking at it
Buying through a standard retail channel with a clear return policy, rather than a private sale, is the lower-risk way to try a launch monitor for the first time, since you can send it back if it doesn't suit your space or swing once you've actually tried it.
Signs you're ready to move up a tier
If you started minimal, on purpose, these are the signals worth watching for rather than upgrading on a whim.
- You're using it consistently, most weeks, for more than a couple of months, not just the first few weeks of novelty
- You've caught yourself wanting to actually see ball flight, not just read the numbers off a screen or app
- The room is otherwise fixed and unlikely to change, so investing in a fitted enclosure and screen won't be wasted if you move the equipment to a different space later
- You've priced out the upgrade and it fits the budget on its own, rather than being justified by sunk cost in what you already bought
None of these are required before upgrading, they're just a more honest test than "the minimal setup feels a little basic," which is true of almost every minimal setup regardless of whether upgrading is actually the right next move.
Climate and environment, if you're building in a garage
A garage bay is often the tallest, most available space in a house, but it's also the most exposed to temperature and humidity swings, and that matters more for electronics than for a net and a mat.
- Extreme heat or cold affects electronics, including the launch monitor and any PC you're running, more than it affects the physical equipment; check the manufacturer's stated operating temperature range if your garage isn't climate-controlled
- Humidity and moisture are a bigger long-term concern for a mat and any exposed electronics than most first-time builders expect, especially in an unheated or unfinished space
- A garage door that opens directly onto the hitting area introduces variable outdoor light, which affects a camera-based launch monitor's consistency, see the room-size guide's lighting section
Where to go from here
Once your room checks out and you know roughly what you want to spend, the next step is picking the specific parts. Each stage of the build has a dedicated guide.
For a build organised by total budget, from a net-and-data corner to a full enclosure, see the best home golf simulator guide. For the individual parts, the roundups make the actual picks: launch monitors, projectors, and hitting mats.
Not sure your room works yet? Start with the room-size guide