
How to read this roundup
There is no single best home golf simulator, because a simulator is not a product. It is a launch monitor, a hitting surface, a way to see the shot, something to catch the ball, software, and usually a PC, all chosen to fit one room and one budget. The best setup is the one where no single part is holding the others back.
This guide is organised by total budget, because that is the real constraint. Each tier below lists what I would buy and why, using real products in the catalogue. The individual category roundups go deeper on each part; this page is about how they fit together.
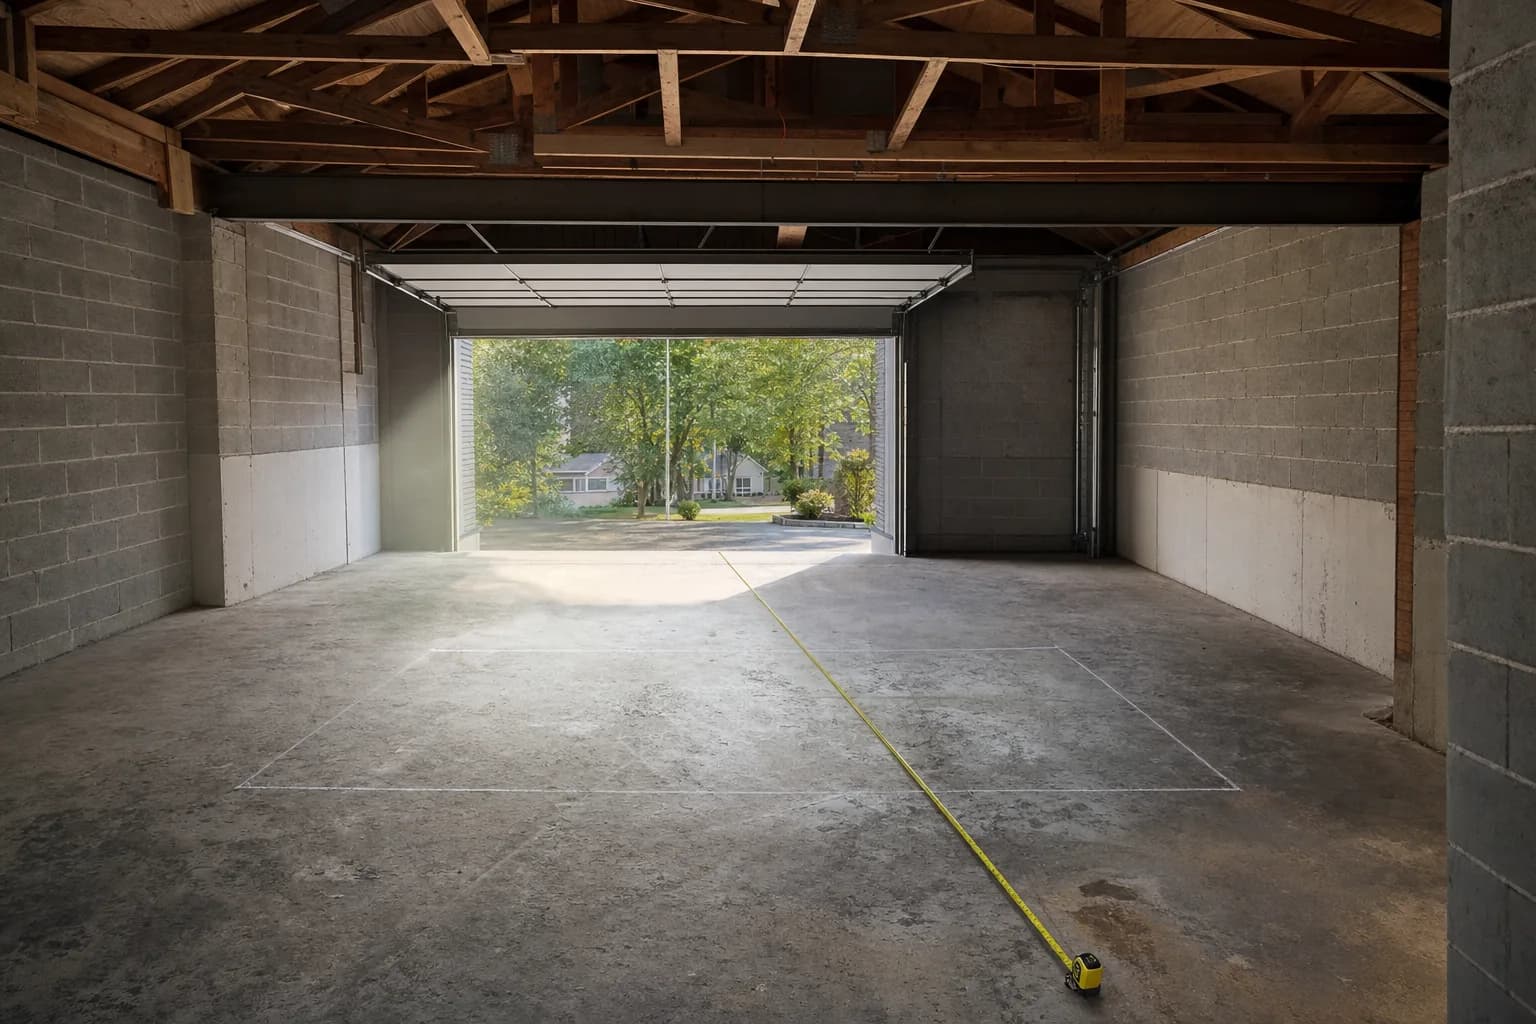
If you have not planned the space yet, read the full build guide and the room size guide first. Ceiling height and depth rule some options in or out before budget does.
Where the money actually goes
Across almost every build, the launch monitor is the largest single line item, commonly a third to a half of the total. After that the spend splits between the enclosure and screen, the projector, the mat, and software. The parts people underspend on and regret are the mat, where thin means sore joints, and projector brightness, where under-buying means a washed-out image.
- Launch monitor: the anchor. Sets your accuracy, your software options and often your room requirements.
- Enclosure and impact screen: catches the ball safely and gives you a surface to project onto. A net is the cheaper alternative if you skip projection.
- Projector: only needed if you want the projected course image. Short-throw, bright, ceiling-mounted.
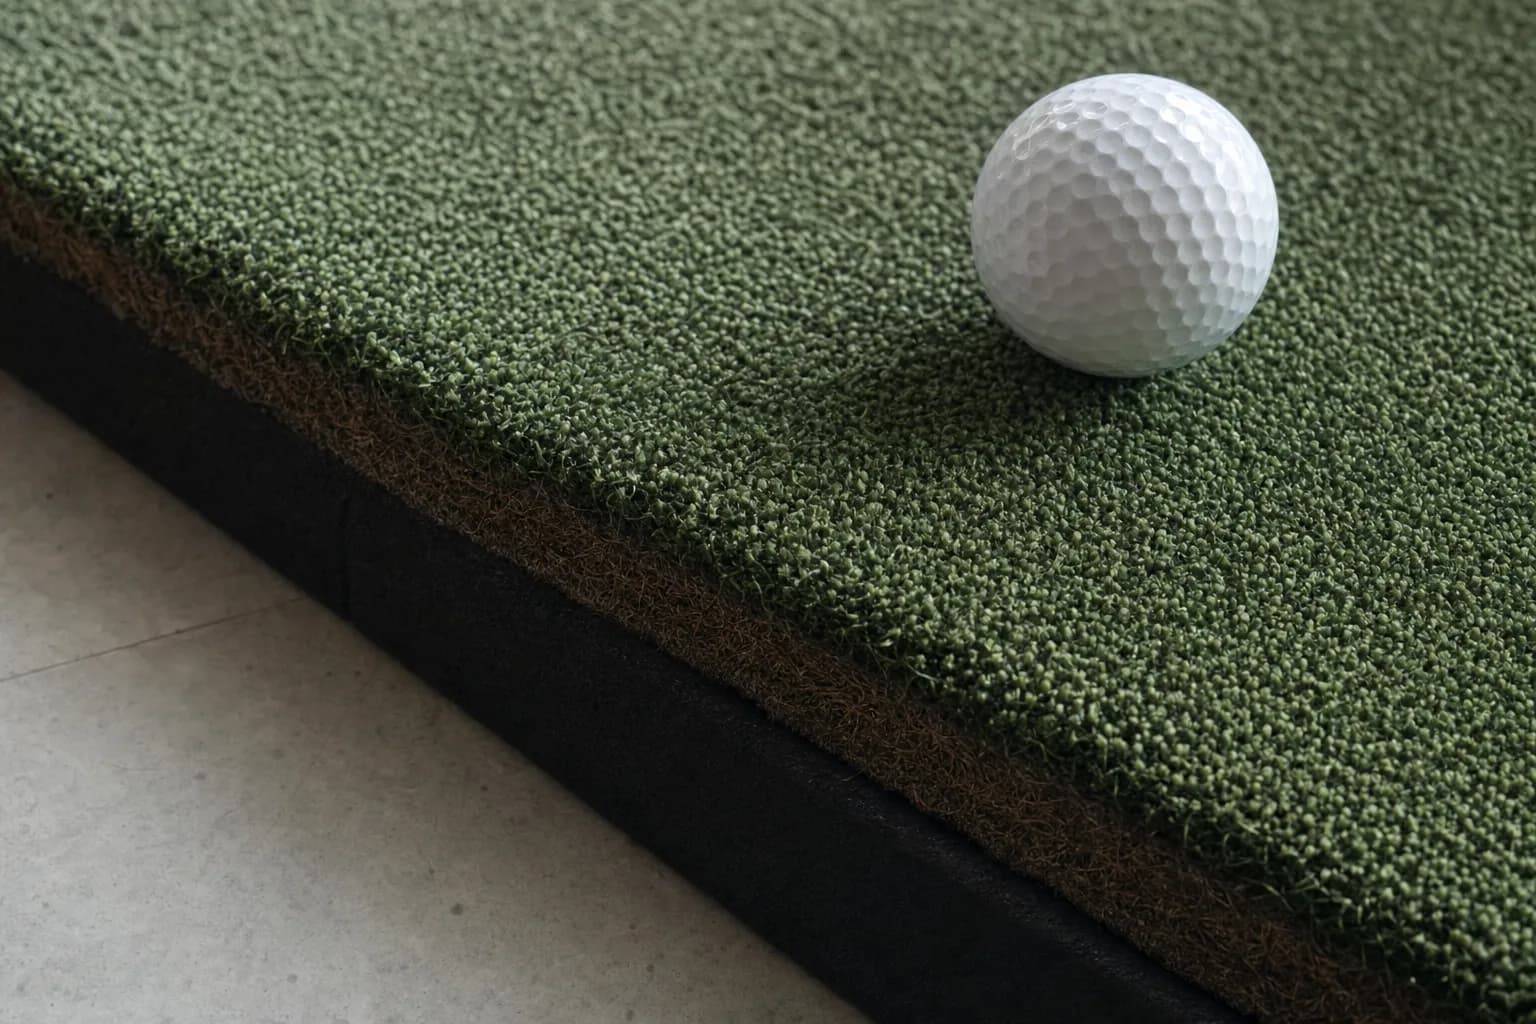
- Hitting mat: joint protection first, turf feel second. Do not buy the cheapest one.
- Software and PC: course-play platforms are usually a separate annual cost, and photometric launch monitors and full sim software often need a Windows PC.
The cost guide has the detailed per-tier breakdown with the software and PC line items spelled out.
The one question that sets your whole build
Before budget, answer this: do you want a projected course image, or do you just want data and a place to hit? It is the fork that determines everything downstream.
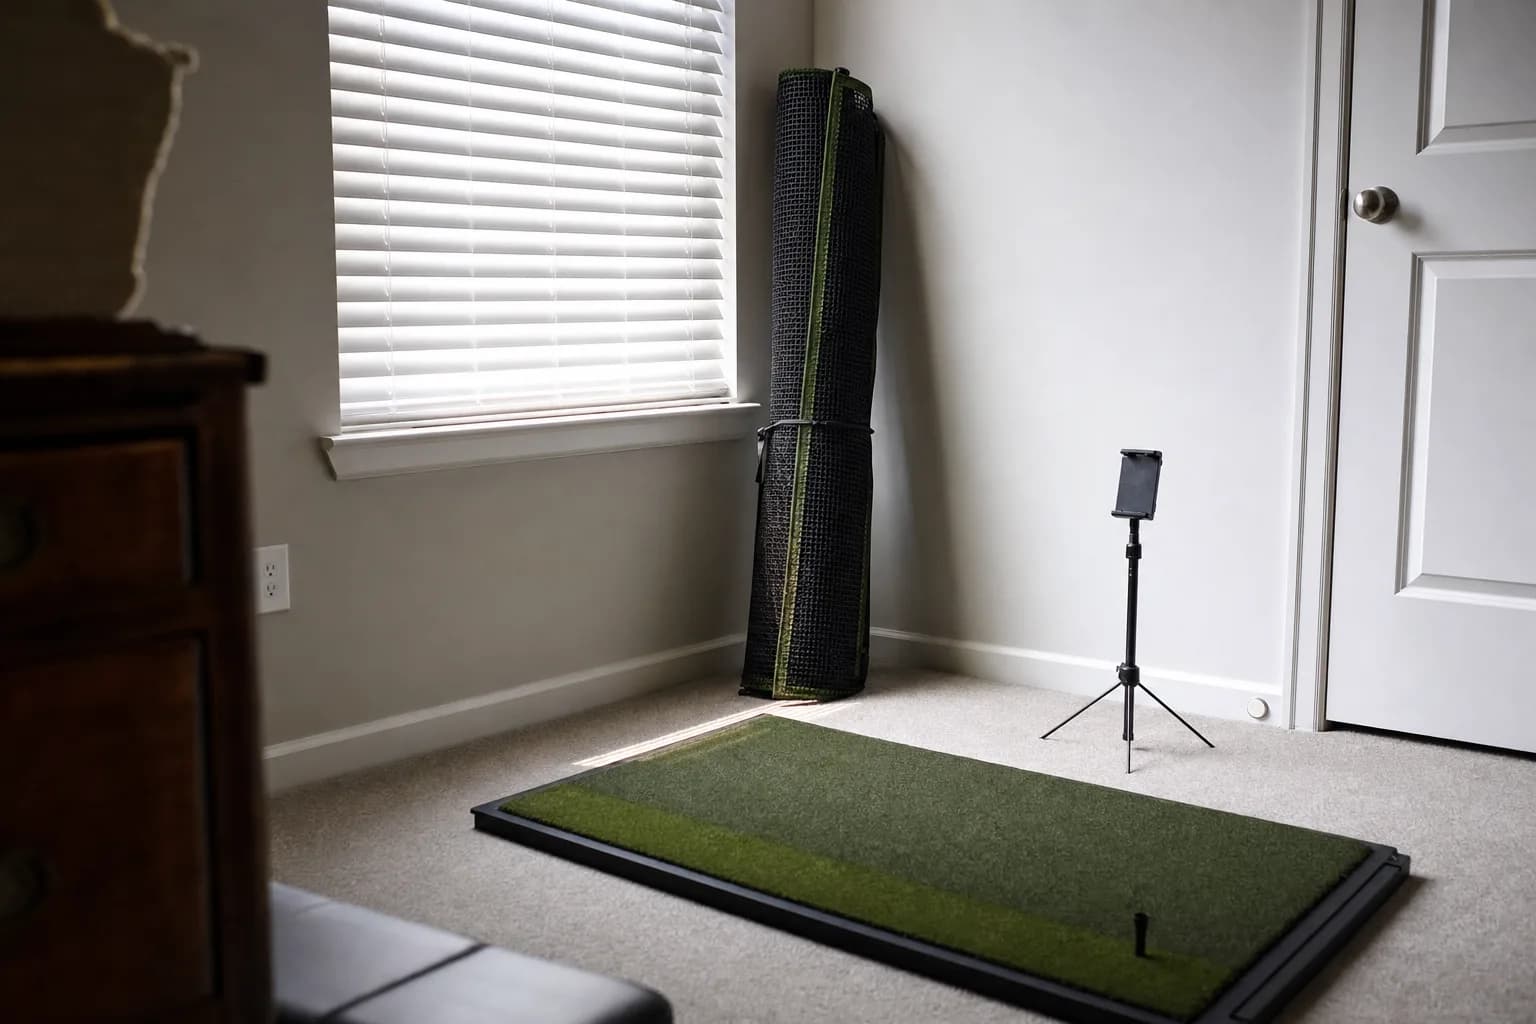
- If you want data and practice, not projection, you need a launch monitor, a mat and a net. That is the whole build. It is cheaper by a wide margin, sets up in an afternoon, and delivers most of the improvement value because the improvement comes from the numbers, not the graphics.
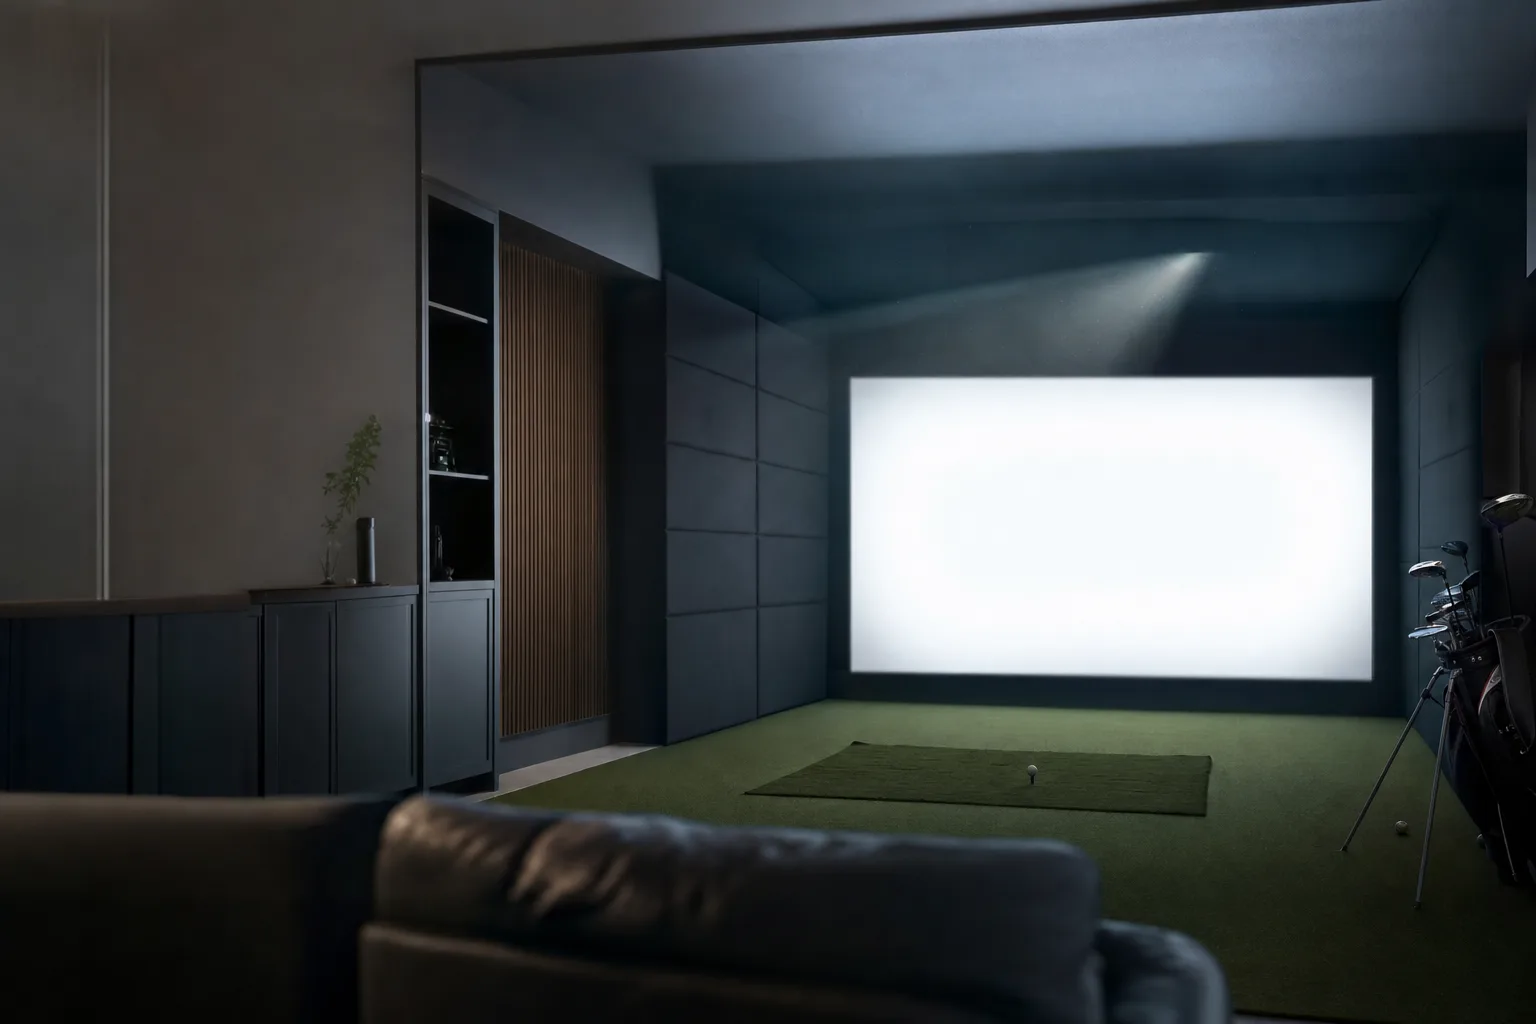
- If you want the projected experience, playing courses, seeing your ball fly on screen, you need all of the above plus an enclosure or frame, an impact screen, a projector and usually a PC. That is four more purchases and a real install.
A lot of people who think they want the full projected setup would be just as happy, and several thousand dollars better off, with the net-and-data corner. It is worth being honest with yourself about which one you actually want before you start buying.
The net-and-data corner: around $1,000 to $1,500
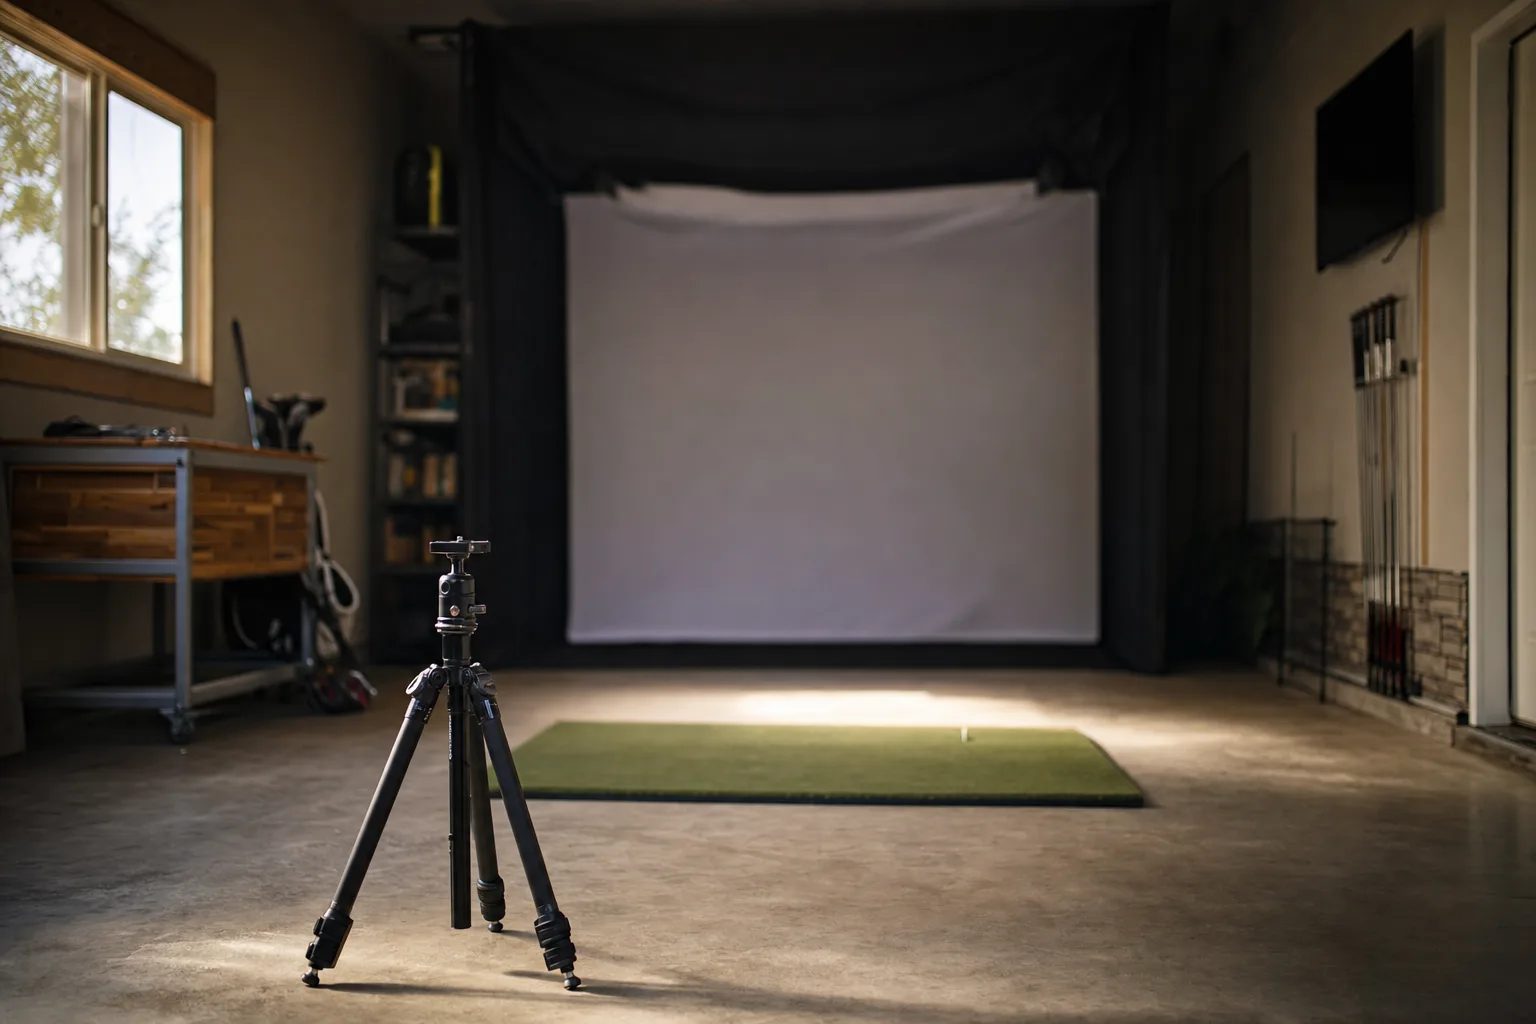
The most cost-effective way to practice at home is not a simulator at all. It is a launch monitor, a good mat and a net, with no projection. You get real numbers on every shot and a safe way to hit full swings indoors, and you skip the two most expensive parts: the screen-and-enclosure and the projector-and-PC.
For this build I would pair the Garmin Approach R10 with a thick mat like the Bearwill 31mm and a quality net. The R10 gives you carry, ball speed, club speed and enough data to work on your game, it works outdoors too, and it can grow into a full simulator later when you add a screen and projector. The only requirement is room depth: the R10 is radar and needs space behind the ball.
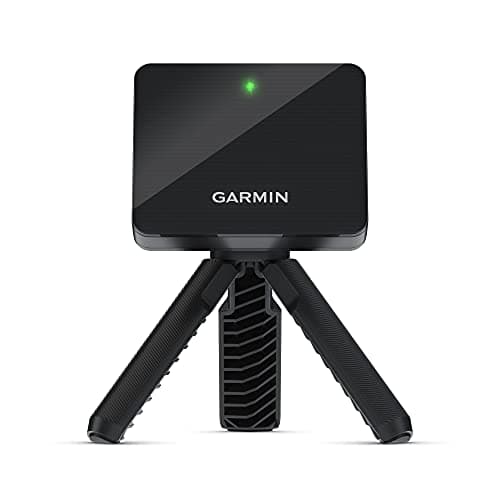
The launch monitor I would build a first home setup around. It does enough data for real practice, works outdoors, has the widest simulator software support at its price, and can anchor a full projected setup later. It is radar, so this build needs depth behind the hitting position.
If the R10 is out of budget, the budget launch monitor roundup covers sub-$250 net-practice units that still give you honest speed and distance.
The other two-thirds of this build are the mat and the net, and neither is the place to cut. A thin mat on a garage floor is the fastest route to sore elbows, so a thick multi-layer mat like the Bearwill is worth the spend. The net needs to be rated for the ball speeds you produce and deep enough to kill the ball's energy without dangerous bounce-back, which is a genuine safety point, not a nicety. Add an anti-slip layer under the mat and check the net's clearances before the first full swing.
This tier is also the low-risk way to test whether you will actually use a simulator before committing to a full enclosure. If the net corner gets daily use for a few months, the upgrade is easy to justify. If it gathers dust, you have saved yourself several thousand dollars.
The entry projected simulator: around $2,500 to $4,000
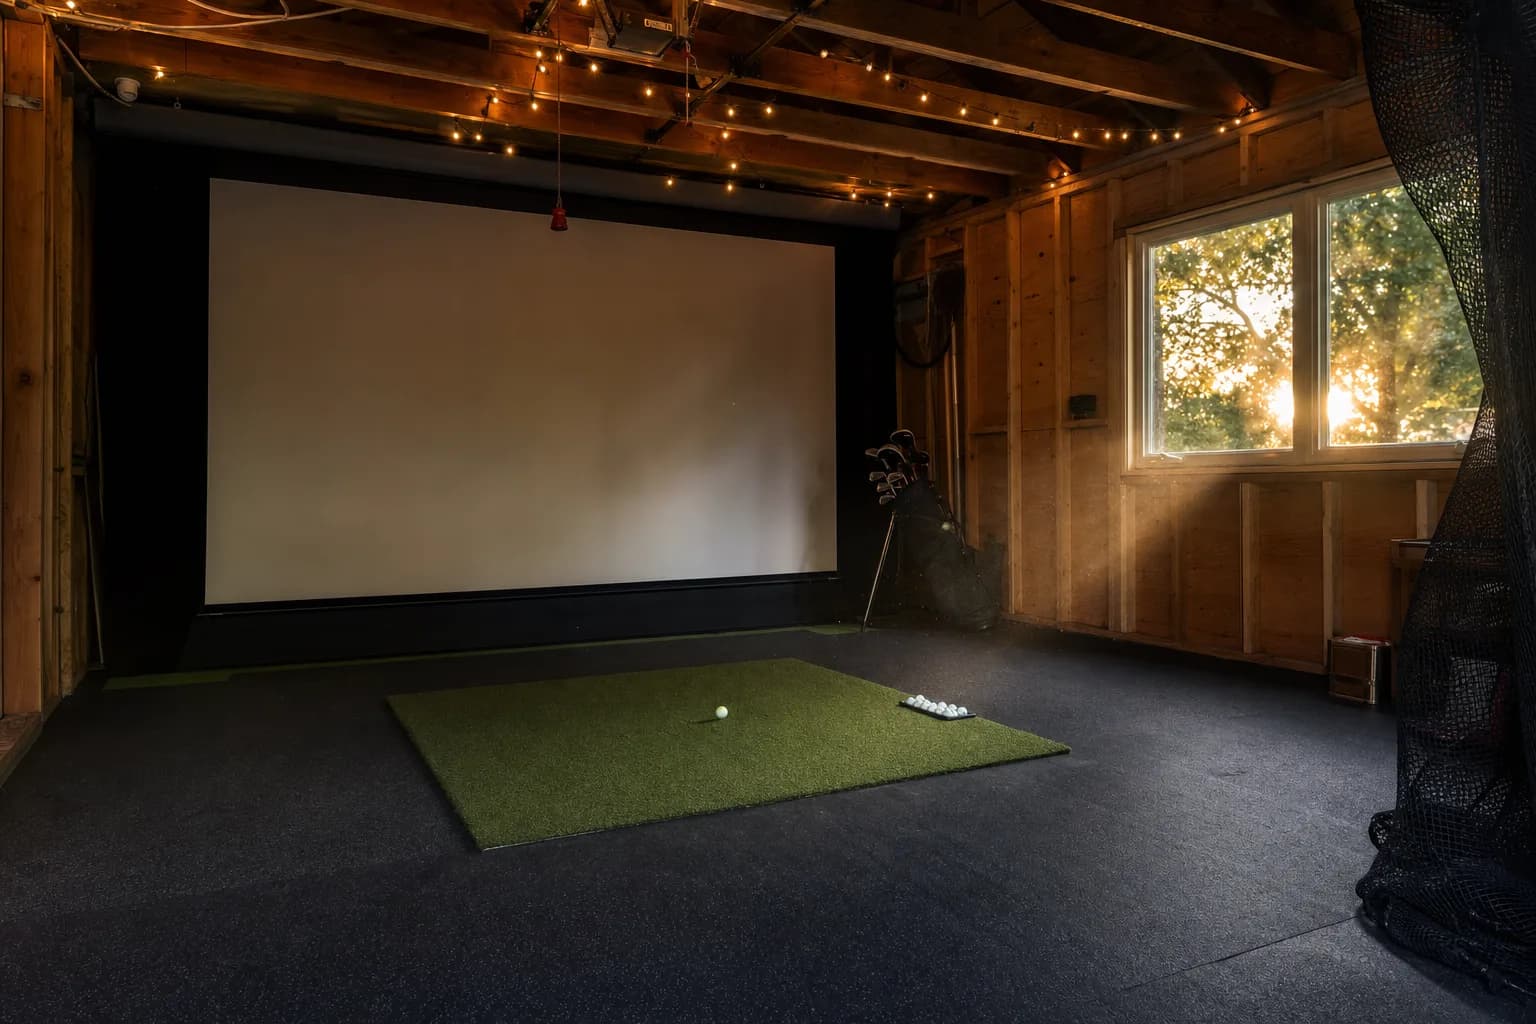
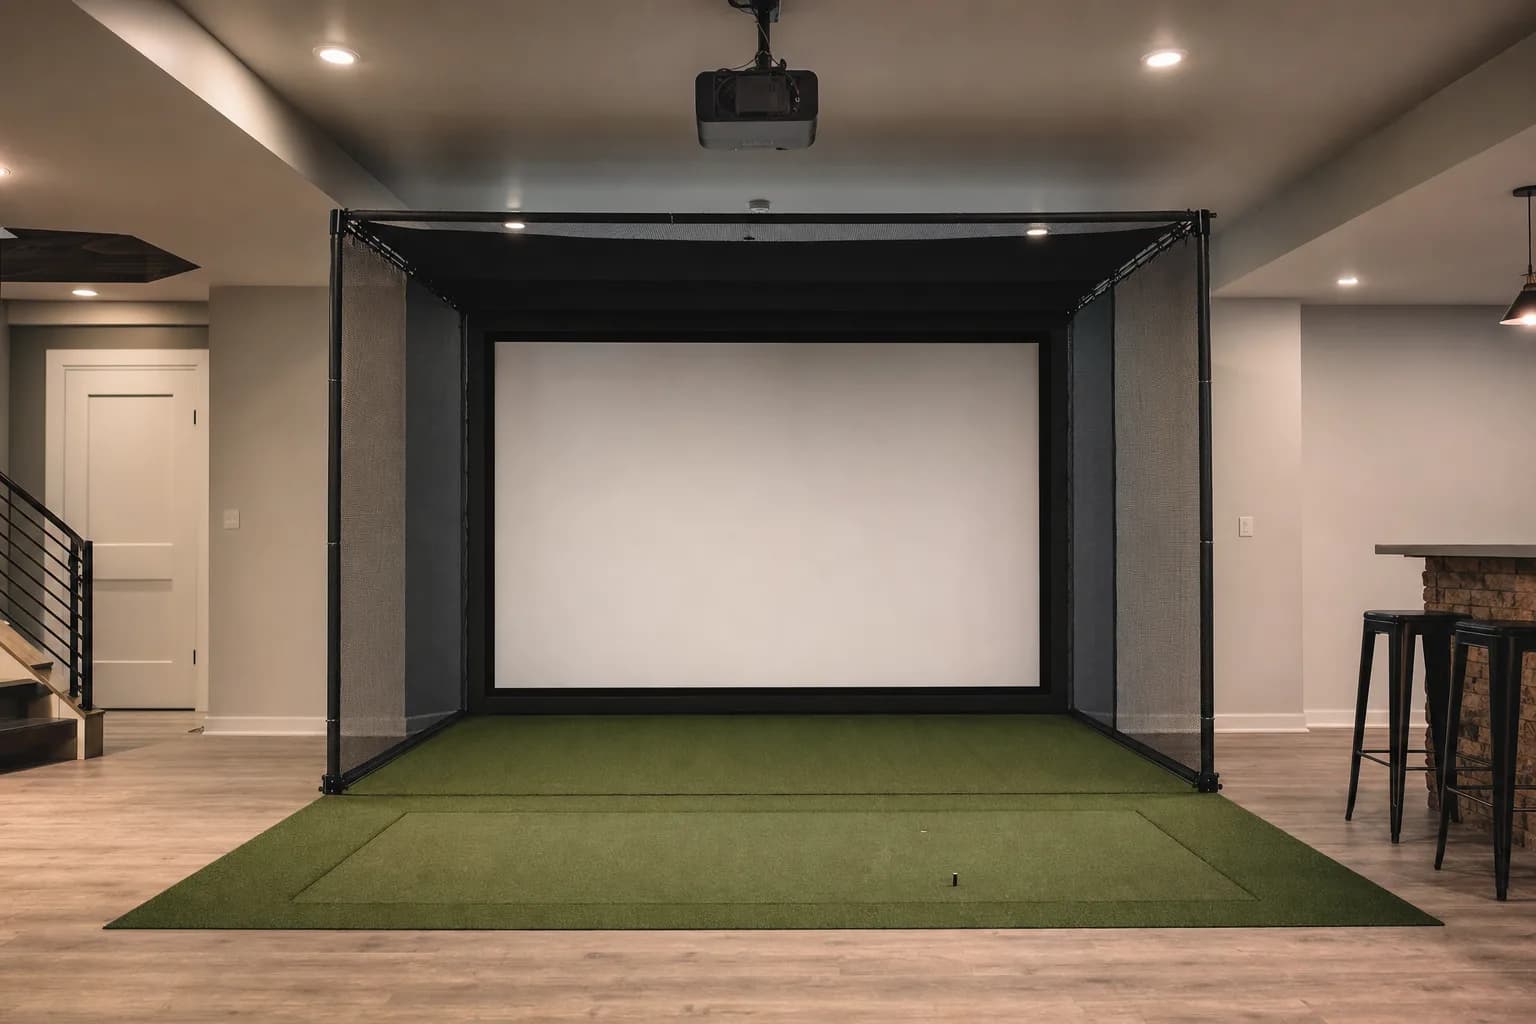
This is the first tier that gives you the projected course image most people picture when they think of a home simulator. The build is a budget-friendly launch monitor, a complete enclosure package with a bundled impact screen, a short-throw projector, a proper mat, and a PC.
A complete enclosure package is the sensible choice here rather than sourcing the frame, screen and side netting separately: it removes the fitment guesswork, and the bundled screens on these kits are rated for repeated driver impact. Pair it with the BenQ TH671ST for a room you can darken, or step up to the Optoma GT2400HDR if there is any ambient light. Keep the Garmin R10 or move to the Rapsodo MLM2PRO if you specifically want measured spin.
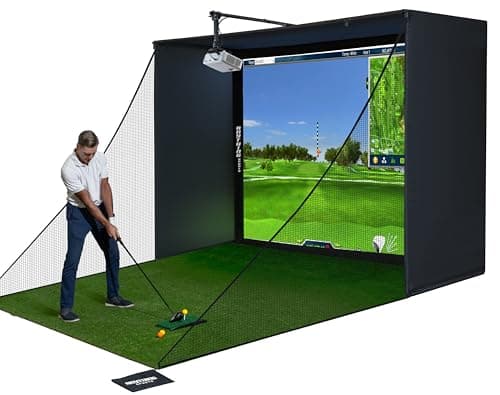
The enclosure I would use for a first projected build. A bundled kit takes the fitment risk out: frame, blackout cage, projector mount, side shank nets and a driver-rated screen in one box, in a size that suits a standard garage bay. Cheaper and less error-prone than sourcing the pieces separately.
For the projector choice at this tier, the simulator projector roundup compares the short-throw options on brightness, light source and mounting distance.
The trap at this tier is spending the whole budget on the enclosure and screen and leaving too little for the launch monitor and projector. The enclosure catches the ball and looks impressive, but it does not affect how the simulator plays. A slightly smaller or plainer enclosure with a better launch monitor and a brighter projector is the better-balanced build every time. Set the launch monitor and projector budgets first, then buy the enclosure with what is left.
Expect a weekend for the install: assembling the frame, tensioning the screen, mounting and squaring the projector, running cables, and getting the launch monitor placed and calibrated. It is not hard, but it is fiddly, and rushing it is how you end up with a crooked image and a mat that slides.
The serious home setup: around $5,000 to $8,000
At this budget the launch monitor changes character. Instead of a budget radar unit you move to a photometric one: a SkyTrak, or a Uneekor EYE MINI, which reads the ball at impact, works in a short room, gives you near-instant feedback and club data, and drives serious simulator software like GSPro. This is also the tier where the mat and screen get upgraded to units built for heavy use.
My build here: the Uneekor EYE MINI as the launch monitor, the Optoma GT2400HDR projector for its brightness and golf colour presets, a dual-turf mat like the Fanshaw for realistic tee work, a complete enclosure with a driver-rated screen, and a gaming-class Windows PC. Budget the annual software subscription and, for the EYE MINI, a few hours for the first PC setup.
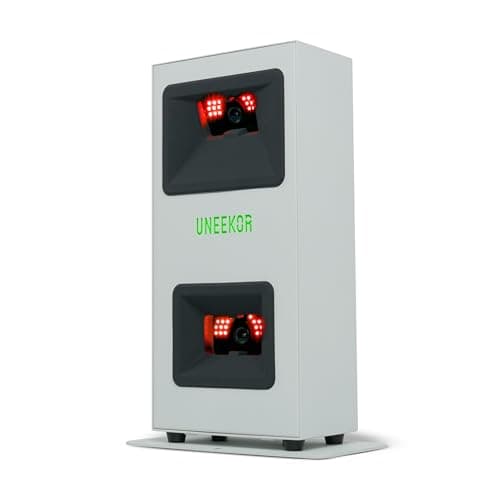
The launch monitor I would centre a serious home setup on. Photometric, so it fits a short room, with near-instant reads, club data, impact video and support for GSPro and TGC 2019. Bench tests put its data close to systems costing several times more. Plan for a Windows PC and some first-setup time.
$1,249.00
Above this tier the launch monitor keeps climbing, a Bushnell Launch Pro for GC3-class ball data, then the true premium camera systems, but the returns flatten for a home user. The jump from a budget radar unit to a photometric one is transformative; the jump from a good photometric unit to a great one is a refinement most amateurs will not perceive shot to shot. Spend to the photometric tier if you can, then put further budget into the screen, the mat and a PC that will not stutter.
The three builds side by side
The same room can support any of these; the difference is what you buy and what you get. Every product named renders its live price on its own review page.
| Build | Launch monitor | How you see the shot | Also includes | Rough total |
|---|---|---|---|---|
| Net-and-data corner | Budget radar, e.g. Garmin R10 | No projection, data only | Thick mat, rated net | Around $1,000 to $1,500 |
| Entry projected simulator | Budget radar or hybrid, e.g. R10 or Rapsodo MLM2PRO | Short-throw projector on a bundled screen | Complete enclosure kit, mat, PC | Around $2,500 to $4,000 |
| Serious home setup | Photometric, e.g. Uneekor EYE MINI | Bright laser projector, e.g. Optoma GT2400HDR | Dual-turf mat, enclosure, gaming PC | Around $5,000 to $8,000 |
The three tiers described above, with the parts each one includes and leaves out. Total ranges are broad because launch monitor and enclosure prices move; use the cost guide for a current per-tier breakdown.
Software and the PC
For a projected setup, the software and the PC are a real part of the decision, not an afterthought.
- Course-play software: GSPro is the enthusiast favourite for its course library and realism and runs on an annual model. E6 Connect and others are alternatives. Each launch monitor supports a specific set, so confirm the one you want is compatible with your unit before buying either.
- The launch monitor's own app: some units need their companion software running as a bridge to the course software, which is another thing that has to connect reliably.
- The PC: simulator graphics are genuinely demanding, closer to a gaming PC than an office machine. A modern mid-range gaming desktop handles it; a laptop or an old family PC usually will not, and a stuttering image ruins the experience you paid for.
- A radar unit that runs off a phone or tablet, like the Garmin R10, can skip the PC for its own app-based modes, but full course play still generally wants a computer.
A note on putting
Putting is the weakest part of almost every home simulator, and it is worth knowing before you build. Most launch monitors either estimate the putt from a short stroke or use a software putting mode that is more approximation than measurement. Some premium units have a dedicated putting mode; many budget units effectively ignore putts under a certain distance.
If short game and putting matter to you, plan to practise those separately on a real putting mat and treat the simulator as a long-game and approach-shot tool. Trying to make the simulator do everything is how people end up disappointed with an otherwise excellent setup.
DIY versus a package deal
DIY golf simulator builds are popular because you can save real money on the enclosure by building a frame from steel conduit or timber and buying just the screen. If you are handy and enjoy the project, a DIY enclosure is a legitimate way to put more of the budget into the launch monitor.
Where DIY tends not to pay off is the screen itself, the launch monitor and the projector. A cheap screen tears at the grommets, a mismatched projector is dim or the wrong throw, and the launch monitor is the one part where saving money costs you the accuracy you are buying the setup for. A middle path works well for most people: a bundled enclosure-and-screen kit for the parts where fitment matters, and careful individual choices on the launch monitor, projector and mat.
Does Costco sell a golf simulator? Warehouse clubs and big-box retailers do carry all-in-one simulator packages periodically. They can be reasonable value, but check exactly which launch monitor and projector are in the bundle against these roundups, because the box price often reflects an entry-level sensor.
The DIY route also lets you build to your exact room. A pre-made enclosure comes in fixed sizes, and if your ceiling is an inch too low or your bay a foot too narrow, you are fighting the kit. A conduit-and-net frame can be cut to fit the space you actually have, and the impact screen is sold in a range of sizes to match. If your room is an awkward shape, DIY is sometimes not the cheaper option but the only one that fits.
Where a bundled kit clearly wins is time and confidence. Everything is sized to work together, the screen is rated for driver impact, the projector mount is included and positioned correctly, and there is a warranty if something fails. For a first build, or for anyone who would rather practise than fabricate, that is worth the premium over sourcing parts.
The costs that continue after the build
- Course-play software: platforms like GSPro and E6 Connect are typically an annual subscription or a paid purchase, separate from the launch monitor.
- The launch monitor's own subscription: several units gate club data or simulator use behind a recurring fee. Check current terms before buying.
- A PC that meets spec: photometric units and full sim software usually need a Windows machine, and simulator graphics are demanding.
- Consumables: marked balls for measured-spin units, the occasional projector lamp on lamp-based models, and eventually a replacement mat hitting strip where you wear it out.
What breaks, and what to expect
The most common home simulator problems in the owner reports are not dramatic failures. They are connectivity drops between the launch monitor and the software, a projector image that is not square because the mount is not square, a mat that slides on concrete, and a screen that sags or tears at the grommets because it was over-tensioned or under-supported.
Almost all of it is setup, not hardware. The most reliable setups are the ones where the projector is physically aligned rather than digitally keystoned, the launch monitor is placed exactly to its spec, the mat has an anti-slip layer under it, and the screen is tensioned evenly with a buffer behind it. Get those right and a home simulator is a low-maintenance thing.
Common questions
What is the best home golf simulator for the cost? For most people it is the entry projected tier: a budget launch monitor like the Garmin R10, a bundled enclosure and screen, a short-throw projector and a good mat. It gives you the full projected experience without the photometric launch monitor premium.
Is a golf simulator worth the money? If you would otherwise pay for range sessions or simulator time, the math works quickly. If it is a pure luxury, the honest answer is that a net-and-launch-monitor corner delivers most of the practice value for a fraction of a full enclosure build.
What is the cheapest real golf simulator setup? Around $1,000 to $1,500 for a launch monitor, a thick mat and a net, with no projection. Below that you are buying a launch monitor and hitting into a cheap net, which works but is a bare-bones version.
Can I build a simulator myself? Yes, and a DIY enclosure frame is where the real savings are. Keep the launch monitor, projector and screen as considered purchases rather than the cheapest option, because those are where corners cut show up in the experience.
What are the disadvantages of a home simulator? It takes a dedicated space, the projected image and putting never fully match real golf, and the ongoing software and subscription costs are real. A mat also flatters a fat strike compared with turf. None of that outweighs year-round practice for most people, but it is worth knowing going in.
How much room do I need? Enough ceiling height to swing a driver, which is the usual limiting factor, plus depth for the launch monitor type you choose. Radar units need more depth than photometric ones. Measure before you buy anything.
What is the most reliable home simulator setup? The one with the fewest moving parts and the most careful install. A photometric launch monitor placed exactly to spec, a rigidly mounted and physically squared projector, a mat with an anti-slip layer, and an evenly tensioned screen give you a setup that rarely misbehaves. Most reliability complaints trace to a rushed install, not the hardware.
Can I start small and upgrade? Yes, and it is a sensible path. Buy a launch monitor that will still be useful later, like the Garmin R10 or a photometric unit, start with a net, and add the screen, enclosure and projector when the budget allows. The launch monitor is the part you do not want to have to replace.
What is the 70/30 or 90/10 rule people mention? Various coaching heuristics about splitting practice between technique and scoring, or between the simulator and the course. They are useful reminders that a simulator is a practice tool, not a replacement for playing, rather than hard rules to build a setup around.
A build order that avoids expensive mistakes
- Measure the room first: ceiling height, depth, width. This rules options in or out before you spend anything.
- Decide projected or not. That sets whether this is a two-purchase build or a six-purchase one.
- Pick the launch monitor to fit the room and your data needs. It is the anchor and the hardest to change later.
- Match the hitting mat and, if projecting, the screen and projector to that decision and that room.
- Add the PC and software last, chosen against the launch monitor's supported list.
- Install carefully. Square the projector, place the launch monitor to spec, tension the screen evenly, put a pad under the mat. The install is where a good setup is won or lost.
Where to go from here
Every part of a build has its own review list, with current pricing and stock. Pick your budget tier above, then work through the pieces.
Browse every launch monitor review
The anchor purchase, and usually the largest single cost.
Browse every simulator projector review
Short throw, bright, ceiling-mounted, matched to your screen.
Browse every hitting mat review
Joint protection first, turf feel second.
Browse every impact screen review
Driver-rated, evenly tensioned, with a buffer behind it.
Browse every enclosure review
A bundled kit removes the fitment guesswork on the frame and screen.